
I know that you are trying to install Bitnami WordPress software so I am here to solve your problem. Here the solution how to install WordPress on localhost Bitnami. Normally if you want to build a WordPress website you need to buy a Domain and Hosting and then launch your live website. But if you don’t want to launch your website yet and just want to try and test WordPress you can do that by reading this article.
When you install WordPress locally all the website files will be stored on a computer and this means only you will be able to access your website. So this is a great way for you to learn to make your website free of cost. And once you build your WordPress site locally you can then move it to your live website. I will show you how you can do that.
What is Bitnami Software?
Bitnami Software is a platform through which you can learn to create a WordPress website on your local computer. For which you neither need to buy hosting nor take any domain. You can download it with just one click and can easily install it in your system. This is an open-source application for which you do not have to pay any monthly charge.
If you do not want to spend money on hosting and domain, then you can learn about WordPress by installing this software on your computer. And you will also get the latest updates of WordPress. With this WordPress software, you will be able to create any kind of website and for this you will not have to write any type of code. If you also want to learn WordPress for free, then here we have told step by step methods about installing WordPress Bitnami Software–
How To Install Bitnami Software On Local Computer Step By Step Guide
- Search on Google for Bitnami WordPress.
- Download the software for Windows.
- Run it on your computer. This will take 10 to 15 minutes to the install Bitnami WordPress Software.
- After all configuration access WordPress.
- In the last step you have to log in to your WordPress account.
You may check out all the steps below.
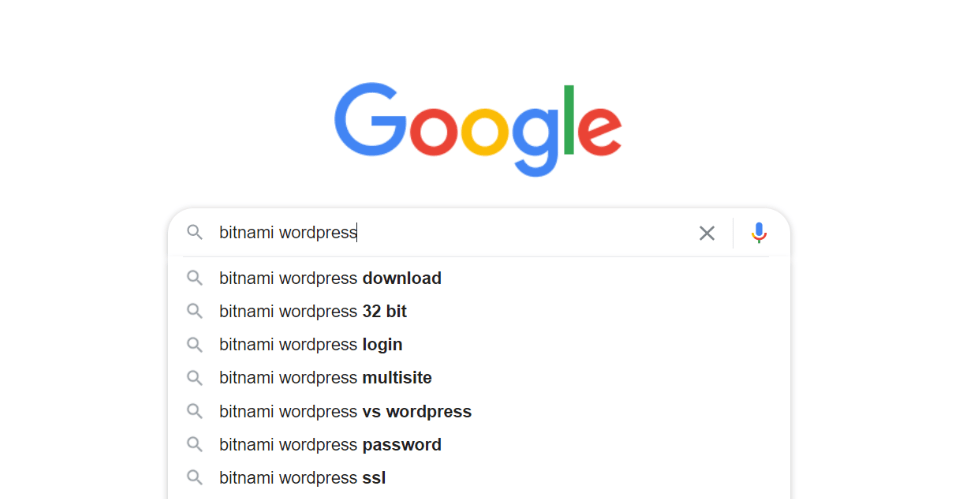
Step 1: Search on Google for Bitnami WordPress
First, we are going to download a software called ‘Bitnami WordPress‘. Bitnami software is best to use for install wordpress on localhost. This is the software that is going to allow us to run WordPress on our computer.
For downloading it lets go to the browser, then search for a bitnami WordPress and press ‘Enter‘.
Bitnami WordPress

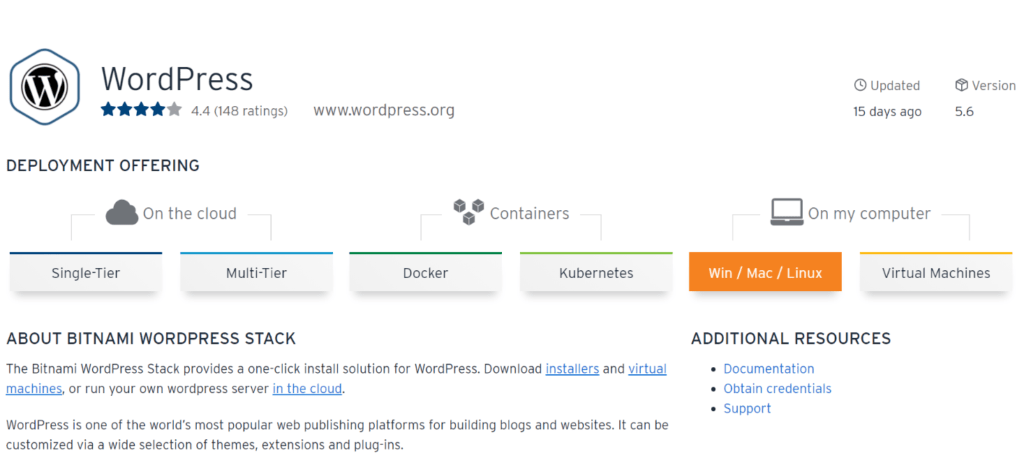
After clicking on the first link this will open a new tab. In this window you will see three options in which the first one is ‘On the cloud‘ another is ‘Containers‘ and the third one is ‘On my computer‘.
You have to select the third one. And in this you are seeing two parts so in this you have to choose the ‘orange button‘
Step 2: Download Bitnami Software For Windows 64-bit to Install WordPress on Localhost
This is showing three options first is ‘Download for Windows 64-bit’ another one is ‘Download for OS X VM 64-bit‘ and the third one is ‘Download for Linux 64-bit‘.
So you have to choose the first one ‘Download for Windows 64-bit’.
After that download the software. So Bitnami software is downloaded.

After that complete the installation of ‘Bitnami WordPress‘ on your local computer. Don’t Pause the process.
Please wait until the process is completed

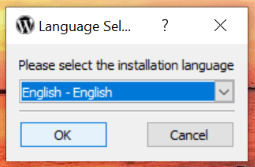
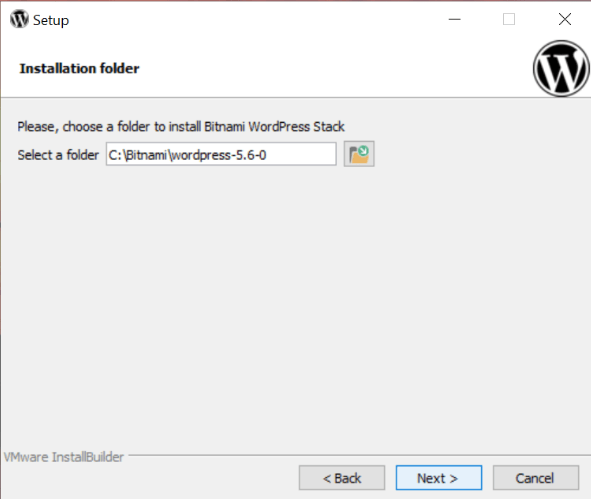
Please choose your language and click on the ‘OK‘ button and move forward for installing WordPress.

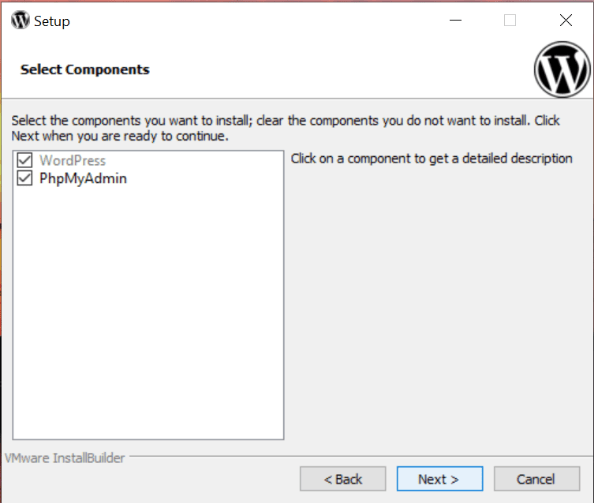
So you have to complete all the steps and click on ‘NEXT‘ button.
Step 3: Bitnami WordPress Software Run it on Your Computer
This will take 10 to 15 minutes to the install Bitnami WordPress.
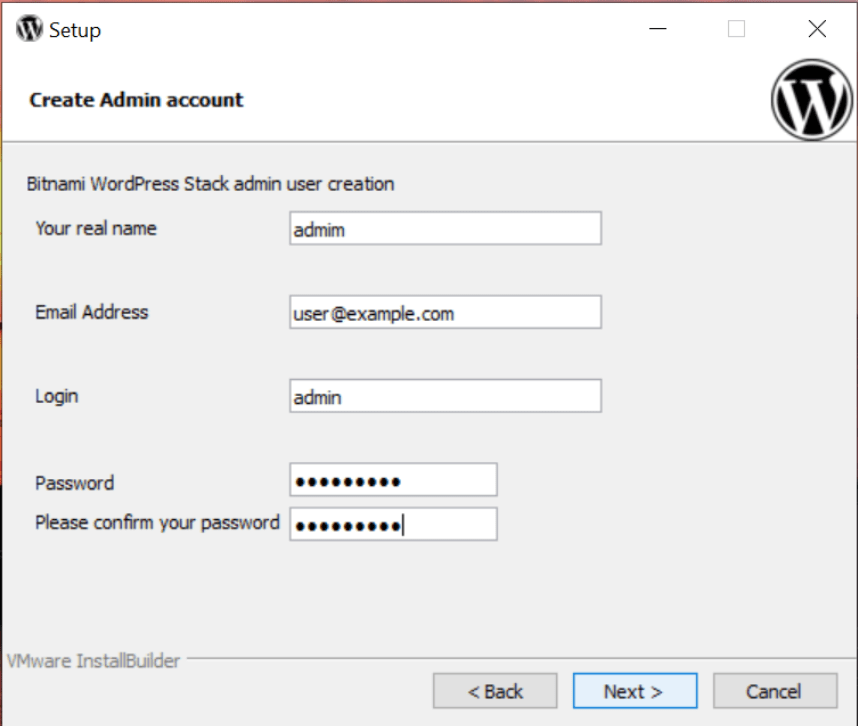
So after clicking ‘Next’. You have to reach this page which is showing below. This is the page where we need to enter the login details of a local WordPress site.
So enter your Name, Email address, Login name, and then the Password for WordPress.
Make sure you remember this detail as we will need it to log in to your local WordPress site.
Give a proper name to your blog. Like here I am writing my blog’s name ‘My Blog‘.
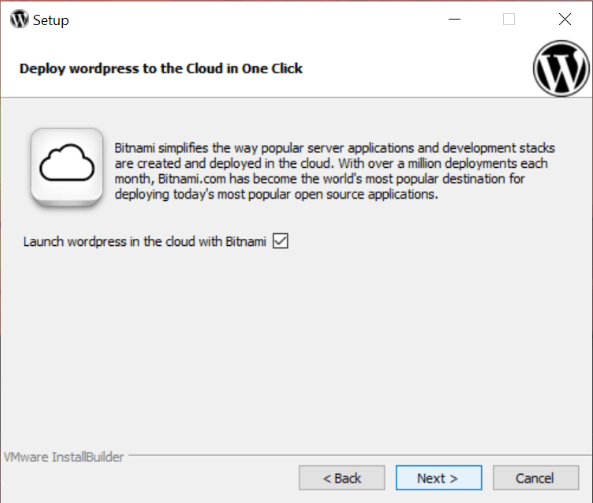
So you can write this according to your wish whatever you want. Keep clicking ‘NEXT BUTTON‘.

In this step if you want to provide your mail so you can do that. But here I am not interested to provide my mail for mail support.

In this step, you have to wait for 5 to 10 minutes for installing all files of WordPress. It will take more time to create a database, store files for WordPress.

Step 4: After All Configuration Access WordPress
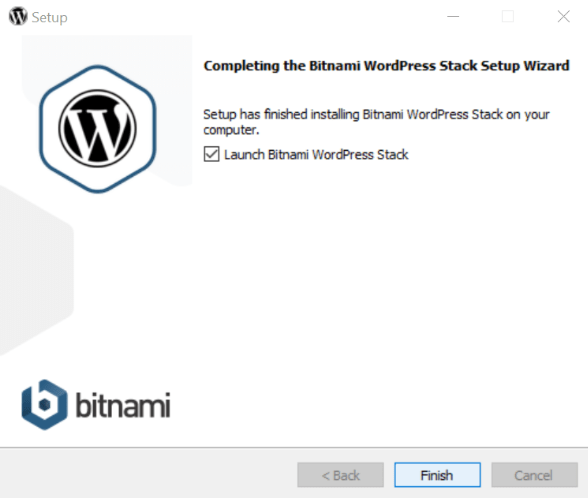
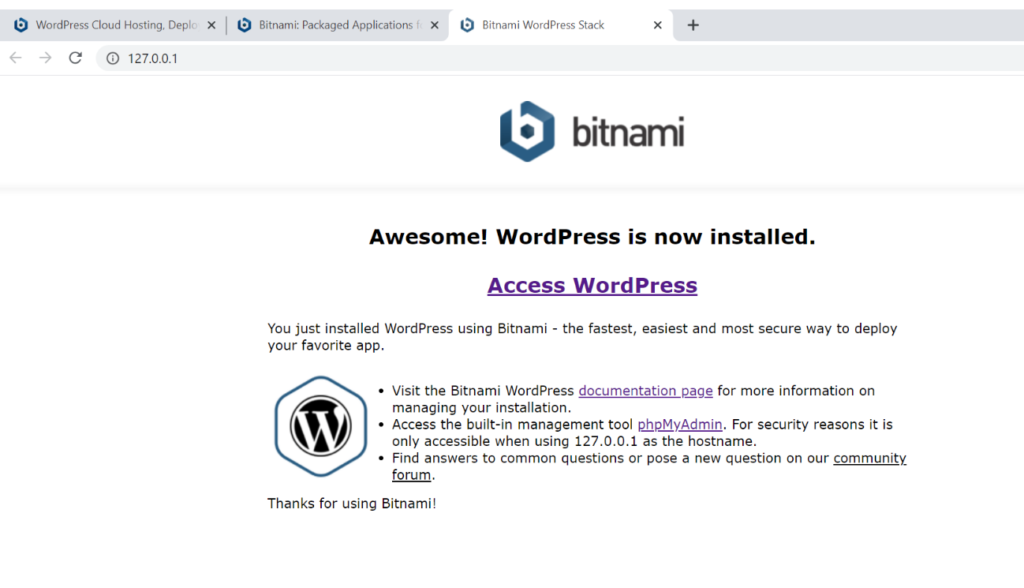
So WordPress is now installed on your computer. Now to access your site you have to click ‘Access WordPress’. After clicking on it, you can see a WordPress site is running on your PC.

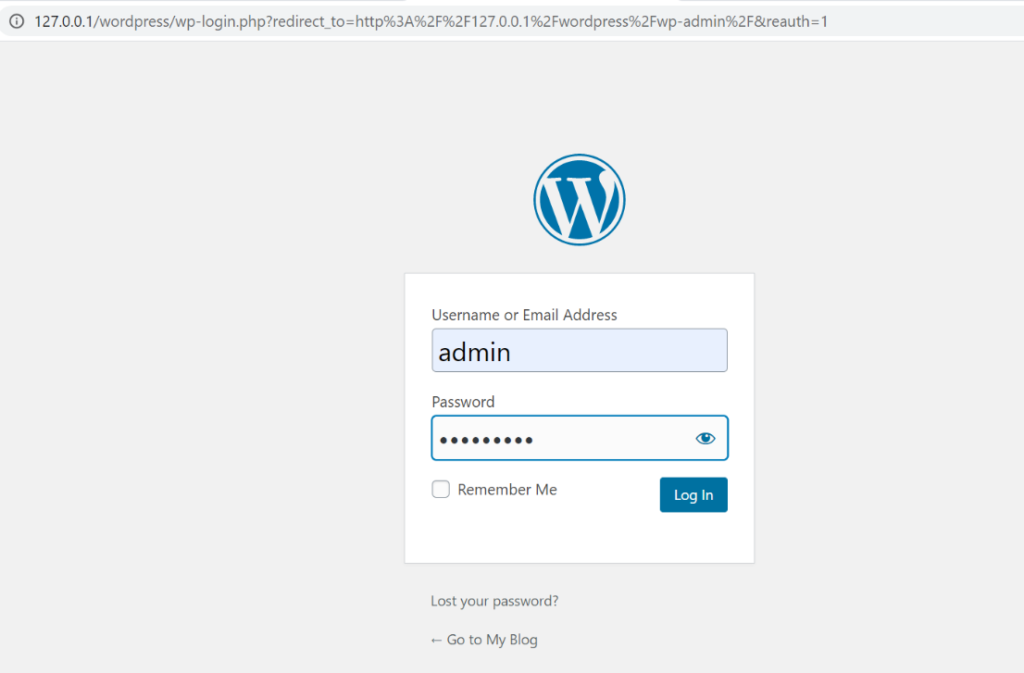
Step 5: Log in to Your WordPress Account.
You can access your site anytime by going to ‘127.0.0.1 /wp-admin‘.
Please enter your User Name and Password for logging in your WordPress.
Now you are able to create your own website in a proper manner and in easiest way.
Once you have logged in you can start building your website.
So this is how you can install WordPress locally on your Computer.
Now you can make a website on localhost. Here you will be able to get information about the SEO by installing the Yoast plugin, though there are many parts of the SEO. To get the organic result, the on-page and off-page will also have to be given focus.
Conclusion
There are many ways to Install WordPress locally but here I am only showing the simplest way of doing this. By following the steps given here, you can easily create your own shopping site or blog website on your localhost server. You can check on YouTube to know how to create a website on WordPress. Hope you understand this process.